Showing posts with label step-by-step. Show all posts

Monday, 19 March 2012

A Day (or Two) Late and a Shamrock Short.

A side note before I begin the post in earnest:
I had fully intended to get this post done before St Patrick's Day, even with my busted laptop, I was going to borrow a computer... Then one of my cats fell terribly ill, and half of last week was spent trying to get a diagnosis and figure out treatment. Long story short: she's getting better. But then! Then I got sick! So the head cold from heck is also to blame for the lateness of this post.

And the fact that I had friends over for beer, cartoons & all-night Boggle this past weekend had absolutely NOTHING to do with it. Nothing at all.

But I digress, on with the post!


For those of you who have been waiting for me to reveal the secrets of my sugar cookies (because I know you're all on the edge of your seats holding your breath and all) the day has finally arrived! See above, where shortening and room-temperature butter are getting to know each other really well. Once they're well combined, add sugar and mix until fluffy.


Once that's done, add your eggs and vanilla, and mix it up until it looks like slightly lumpy banana pudding.


Perfect.


Next, add your dry ingredients - flour, salt, baking powder, and mix until combined.


The dough will likely still look chunky even after you've mixed it pretty extensively. You may have to get in there with your hands and knead it a bit to help it form together into a smooth dough.


Then I like to turn it out onto some plastic wrap, wrap it up tight and refrigerate it for at least 2 hours.


You can also freeze it at this point. I've frozen this dough for up to 6 weeks, and after thawing in the fridge overnight it is ready to go again, and bakes up tasting just like the dough was made fresh. I often have this dough in the fridge just ready to go in case there's a cookie emergency.

You never know.


When it comes time to roll & cut your cookies, get all your gear in place: Sprinkle your work surface with flour, and have a bowl of flour handy for further sprinkling, and for swishing your cutters in between cookies so you don't end up with dough all stuck to them.


Roll your dough out evenly with a floured rolling pin to your desired thickness. For these, I left them a little thicker than usual - nearly 1/4 inch thick - to make a soft, thick cookie. The Hubby insists I make them this way every time from now on, so take that how you will.

You can also make them thinner and crisper, just reduce the baking time a bit to avoid burning. But I'm getting ahead of myself! We haven't even cut the shapes yet!


Four-leaf clovers were the first shape of choice, mostly because I could not for the life of me find a shamrock-shaped cookie cutter at any of my local stores! I am very disappointed in you, local Bulk Barn, Walmart, Everything for a Dollar Store, and Dollarama. Very, very disappointed.

So, four-leaf clovers it was.

I also hand-cut a couple of interesting shapes with a paring knife, like this guy here:


Any guesses on what that is? We'll come back to it later.

First I want to tell you about my mounting frustration as I cut out clover after clover... These were for St Paddy's Day! They had to be... Irish-er! I wanted Shamrocks, dagnabbit! But what was I to do with no shamrock cutter? Get creative, that's what.


Behold! Three tiny heart cutters and the stem bit from the clover cutter. By their powers combined, I am Capt- wait, no, hang on. I got distracted there. I may have watched too many cartoons recently.

I used some other cutters to make a shamrock, is what I'm trying to say here. It didn't look super pretty but I planned to flood these later so I wasn't too worried.


Here's what our clovers looked like once they baked up. And a few letter D's, for some reason? Hmm.


Once the cookies had cooled, I outlined them all in green royal icing. It took a bit of practice to get the leaves how I wanted them, but this one came out just about right (even if the photo came out just about blurry.)


I thinned some of the green icing and proceeded to flood the outlined cookies, much as I have done in the past.


I also tinted some icing brown to outline the... Well, the fiddle. And some potatoes. What's more Irish than potatoes?


I flooded the fiddle (try saying that out loud, it's fun) and let the icing set for about an hour before adding details in black frosting. For the potatoes, I lightened the brown flood icing with a bit of white and used that to flood them.

Does any one get where I'm going with this?


How about now?

Fiddle. D. D. Potatoes.

Fiddle dee dee potatoes!

You see, there's an ongoing joke at my workplace. One of our supervisors, Connall, is Irish. Actually, several of the higher-ups and my co-workers are Irish, but for some reason, Connall is the only one we harass about it! It's all good-natured ribbing, of course. We'll ask him where his Lucky Charms are, or his pot of gold, or some such.

He'll usually tease me back about my Scottish ancestry, it's all good. In any case, my co-worker Leigh and I teamed up to fill a basket for him with ridiculous, stereotypical Irish goodies, and these cookies topped the pile. It was great. It would have been even better if he'd gotten the joke. Oh well.


In the meantime, here's the recipe so you can whip up your own, slightly adapted from my Great Grandma's ancient Betty Crocker cookbook:

Traditional Sugar Cookies

3/4 cup shortening, half butter, room temperature
1 cup white sugar
2 eggs
1 tsp vanilla
2 1/2 cups flour
1 tsp baking powder
1 tsp salt

Cream together shortening and butter with sugar until fluffy. Add eggs and vanilla and beat until relatively smooth. Pile on flour, baking powder, and salt, and mix with wooden spoon until dough forms, kneading with hands as necessary.

Wrap in plastic wrap and refrigerate for at least 1 hour, or overnight. Can also be frozen for up to six weeks. If freezing, wrap in extra layer of aluminum foil for protection against freezer burn & drying out.

When ready to bake, heat oven to 400 degrees, roll dough out to desired thickness, and cut shapes. Place on parchment paper-covered baking sheet and bake 5-6 minutes for thin cookies (1/8-1/6 inch) or 6-8 minutes for thicker (~1/4 inch) cookies.

Once baked, let sit 2 minutes on pan, then transfer to wire rack to cool thoroughly.

Decorate as desired, and enjoy!

***

Until next time!

Friday, 10 February 2012

Cupcakes Two Ways - Part 1

I still haven't decided what I'm baking for my hubby this Valentine's Day, but I've been batting ideas around.

In the meantime, I made some Valentine-themed cupcakes! I took way too many pictures, as always, so this post will cover the baking part step-by-step, then I'll post about the decorating in the next few days.

So to start with, I dug another recipe out of Great Grandma's crumbling old cookbook. It was one I hadn't made in a while - as I mentioned before, I'm not a big fan of white cake, and this is the whitest white cake I know!

Recipe for Silver White Cake
For all of you who can't read that somewhat blurry mess, the recipe, as I made it, is:

Silver White Cake

2 cups all purpose flour
1 1/2 cups sugar
3 1/2 teaspoons baking powder
1 teaspoon salt
1/2 cup shortening
1 cup milk
1 teaspoon vanilla
4 egg whites

Preheat oven to 350 degrees, grease and flour your baking pan as we have discussed previously, and start getting your ingredients together.

About those pans: I did grease & flour two 9" round pans because I am making 2 batches of cake batter, and only want 20-24 cupcakes, so I'm also going to bake layers and freeze them for a later use.

If you aren't doing this, just pop some cupcake liners into your muffin pan and go to town.


Reason one why I prefer yellow cakes - you don't have to separate the eggs! The actual separating isn't too hard, I just... I really don't like touching eggs and risking getting them everywhere.

So I just crack an egg as neatly as possible - on a flat surface, mind you. Cracking it on the edge of a bowl or pan may cause the shell to puncture into the egg and break your yolks, and then all is lost.

In any case, separate your eggs into a couple of bowls. Pass the yolk carefully back and forth between the 2 sides of the shell, letting the white fall into the bowl, then dump the yolk into another bowl. The smart thing to do is to transfer each egg white into yet another container before you start the next egg, this is so if you do break a yolk, you won't contaminate the whole batch.

I did not do the smart thing, but luckily the one yolk I did drop miraculously did not bust and I was able to fish it out.

An even easier way to separate your eggs is to actually drop the yolk into your cupped hand and let the white fall through your fingers into the bowl. I did not do this, because it feels incredibly gross. But it does work. I've done it before, then I had to scrub my hands raw to get rid of the lingering feeling of salmonella. (Does salmonella have a feeling? No? Well, it does now.)

But I digress!

Once your eggs are separated, dispose of the yolks (or save them for an omelette or a lemon curd or something) and start measuring out your ingredients.


Measure all the ingredients out into your bowl, except the egg whites and 1/3 cup of milk.

Admire your incredibly cute teaspoon measure as you pour the vanilla.


These sweet babies were a Christmas gift from a dear friend - no, not the one who just had a birthday, but one I've known even longer and - okay, I'm just giving them names right now. The friend who had the birthday shall hitherto and onwards be known as "Shanahan" because though that is not her name, it is what I always call her. She may or may not share a birthday with a famous sports dude.

Awesome friend who gave me these measuring spoons for Christmas (along with the sweetest little fondue set, but I don't want to get too off-topic) shall henceforth be known as "Kit." So with that said and done, did you see how the handles on these are little cupcakes?? And that there's little cupcakes engraved in each spoon? I didn't get a good picture of it, but see how on the fronts, the spoon stems say the measurements? On the backs, there are the cutest little hearts! I almost felt bad getting these dirty.

They are definitely the #1 cutest baking accessory I have. So, thank you Kit!!

Now, where were we? Oh, right, cake!


So now that you've got all the ingredients in the bowl - except for the 1/3 cup milk and the egg whites, which are keeping each other company elsewhere on the counter - mix on low speed for about 30 seconds just to get it incorporated, then blitz it up on high for 2 minutes. Scrape down the sides of the bowl with a spatula frequently during all this mixing so you don't end up with random unmixed chunks. It will look quite thick and a bit fluffy when you're done.


Then we can invite the rest of the milk and the egg whites to the party, scrape down the sides of the bowl, and give it another 2 minutes on high speed.


Mmm, smooth, sweet, and oh-so-pale. This batter is ready for baking!


I found these adorable cupcake cups at - of all places - Dollarama! I couldn't believe I could get cupcake cups this pretty for so cheap. I'm not usually one of those girls who squeals for pink and frills, but I guess thinking about Valentine's Day does that to me.


I used an ice cream scoop to measure out the batter, but I accidentally overfilled some of the cups this way, so uh, don't do that.


I didn't forget about my layer cakes - I made sure about half the batter made it into the round pan.

Next up, like the title says, this is cupcakes 2 ways, so I thought I'd try a recipe I keep seeing around the interwebs - Red Velvet. Now, red velvet originated in the Southern States, and only recently has it become popular elsewhere. Your average Joe here in Ontario, Canada, still has never heard of it - unless they're the type that reads baking blogs and sites with American content. Or watches cake shows.

Moving right along. Bakerella recently did a wonderful Valentine's Day cupcakes post, where she made cupcakes that had little Cupid's arrows through them. They were seriously too cute! Check out the recipe and her Cupid's Arrow design here.

I didn't have the resources to do that kind of decorating, but I wanted to try out her recipe, so here goes!


This is our wet ingredients - eggs, buttermilk, vinegar, oil (a whole cup of oil! Dang) and eggs.


And oh yes, red food colouring! The recipe called for 1-2 ounces of the stuff. I've made red velvet cake precisely once before, from a different recipe, and used all 2 ounces of the colouring. It was bitter with the taste of the food dye. This time, I used about 1 1/4 bottles, and as you'll see, it still came out vibrant red!

In a separate bowl, whisk up all your dry ingredients and then pour the wet into the dry.


Uh... I might have put the dry ingredients into a smaller bowl. I was doing all kinds of not-so-smart things this day! I debated pouring the dry into the wet, but worried it might cause some kind of nuclear apocalypse, so I just dealt with the smaller bowl and poured the wet ingredients into the dry. It just fit into the bowl with enough room to mix!


Oh, look at that rich, shiny, satiny, red batter. I wish this image was large enough to be my computer background.


For the red velvet cupcakes, I went with plain white cupcake liners, and used 2 smaller scoops of batter to fill each cup, to try to avoid the overfilling issue I had with the silver white cake.


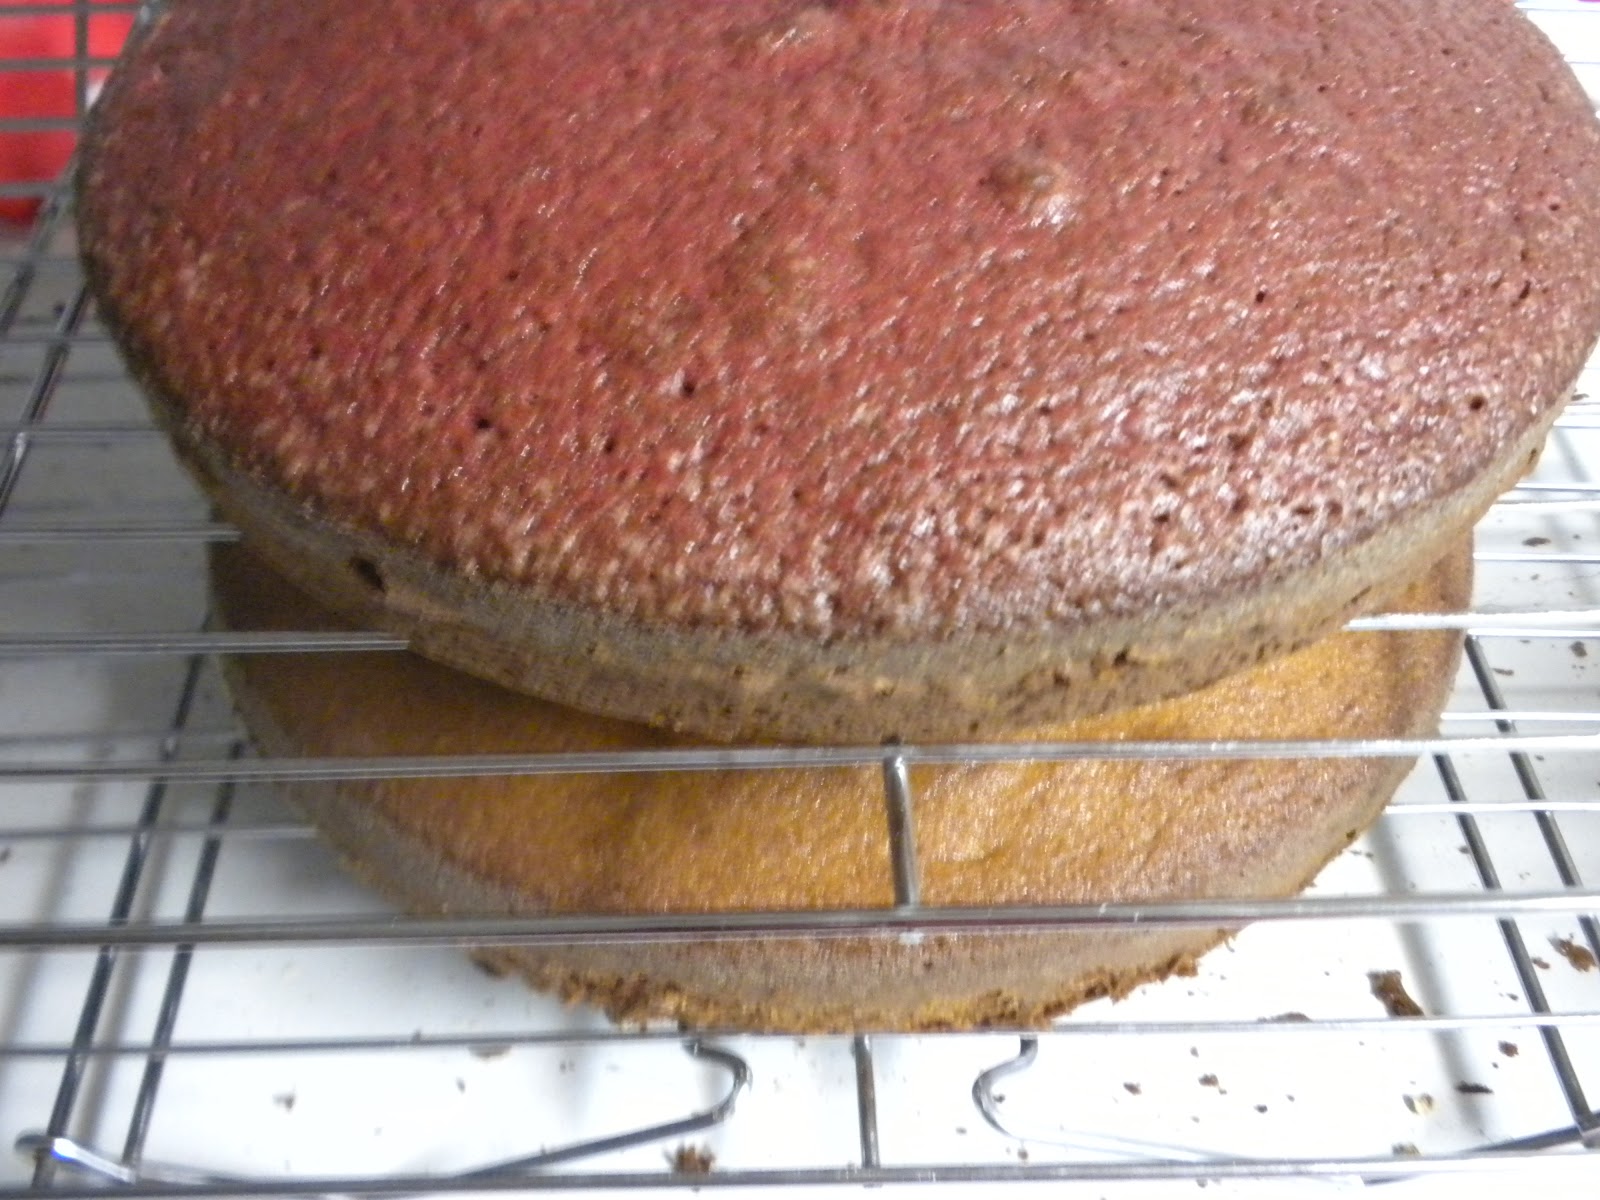
Again, I didn't forget about the layer cakes! They baked after the white cupcakes, and before the red ones. After letting them cool for a few hours, I wrapped them up in plastic wrap, then aluminum foil, and put them in the freezer.

Still debating what I'm going to do with them....


The silver white cupcakes came out a little flat... I don't know why exactly, I'll have to experiment with ways to make them rise more nicely. The red velvet looked absolutely perfect. Now all I had to do was think of a worthy way to decorate them.

But instead, I put them away and went to sleep. Which is also what I'm going to go do now! This post has been a bit of a marathon already, so stay tuned for part two, our thrilling conclusion of Cupcakes Two Ways.

Well, I mean, as thrilling as reading about me frosting cupcakes can be.

Until then!