Showing posts with label cookies. Show all posts

Tuesday, 22 June 2021

White Chocolate Cranberry-Almond Biscotti


This biscotti is exactly what it says on the tin! Or, in the title, rather. Studded with dried sweetened cranberries, sliced almonds and generous chunks of white chocolate, this biscotti is a sweet and crisp dream!

Putting it together is a bit of work, but luckily for you, I've been working on making tutorial videos for recipes one may find intimidating, so if you need a little encouragement or clarification (or a laugh at some of my own goof-ups!) be sure to check it out:


If you like that one, please have a look around the channel for more recipe tutorials, taste tests and more :)

In the meantime, for those who prefer a recipe in writing, here you are:


White Chocolate Cranberry Almond Biscotti
Adapted from All Recipes


1 1/2 C Butter

1 3/4 C Sugar

6 Eggs

1 tsp Almond Extract

2 tsp Vanilla Extract

6 C All-Purpose Flour

1/2 tsp Salt

2 tsp Baking Powder

1 C Sliced or Slivered Almonds

1 C Dried Cranberries

1 C White Chocolate Chips OR White Chocolate, Chopped

1 C Additional White Chocolate, for topping


1. Preheat oven to 350 F.

2. Either with wooden spoon or hand mixer, cream together butter and sugar in a large bowl.

3. Add eggs one at a time, mixing thoroughly between additions. Stir in the extracts.

4. Sift flour, baking powder and salt and add to butter mixture, along with the almonds, white chocolate and dried cranberries. Mix with a wooden spoon or a silicone spatula - you many need to get in there with your hands to fully incorporate everything!

5. Divide dough into quarters. Shape each portion into a log roughly 15 inches long, place on a cookie sheet, and flatten gently until about 3 inches wide with a slight hump in the middle. You should be able to fit 2 portions on each cookie sheet.

6. Bake for 25-30 minutes, or until logs are firm. Cut into diagonal slices ~1/2 inch wide. Arrange slices cut-side down on baking sheet, return to oven to toast for 7-10 minutes. Flip slices, return to oven again to toast an additional 7-10 minutes, or until golden brown. Allow to cool.

7. Melt 1 C white chocolate (either chips or chopped) in microwave for 30 seconds at a time, stirring between blasts. When the chocolate is almost melted, allow the residual heat to finish the job; stir gently until smooth. Do not overheat and scorch your chocolate! Use melted white chocolate to decorate biscotti either by drizzling over them, or by dipping the biscotti halfway into the coating. Have fun with it!


***


Give it a try and let me know what you think! Thanks for reading!


Wednesday, 4 April 2012

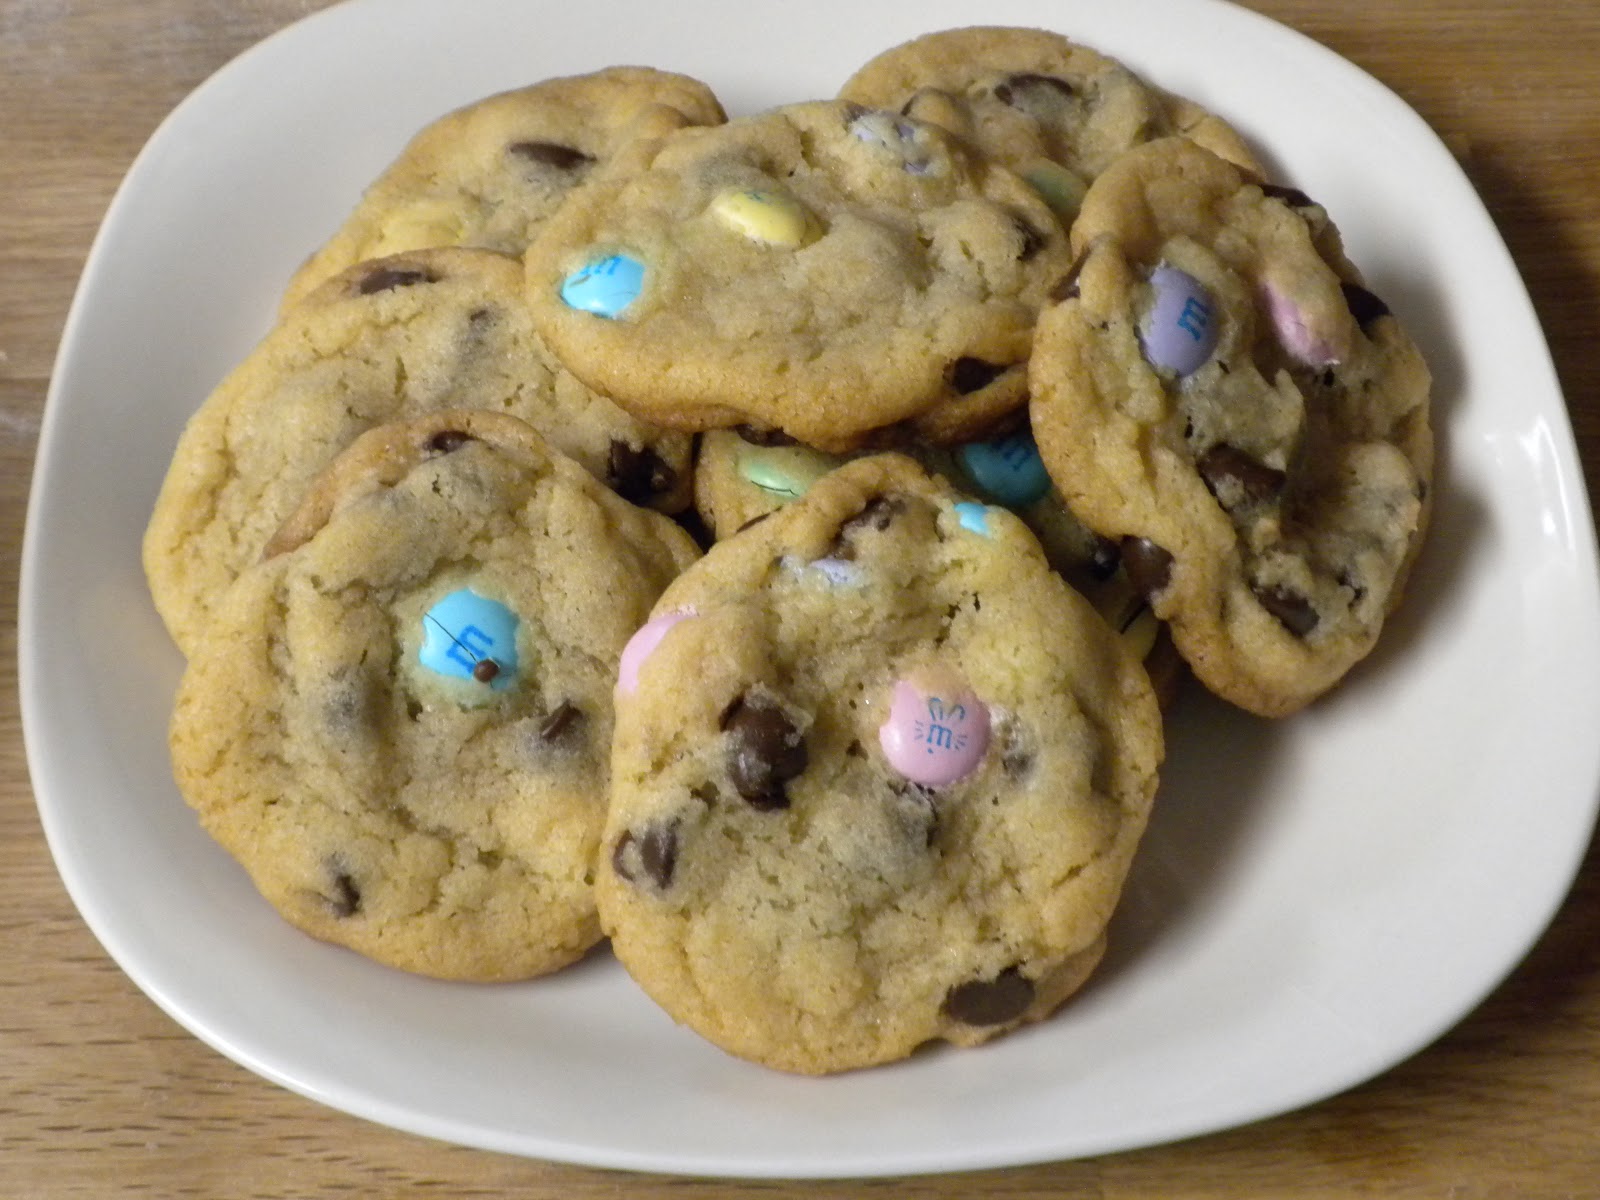
Easter M&M Cookies

Before anything else, a quick apology for the lack of updates lately. The day job kind of started taking up all my evenings, too, so I was left with no time to blog. I will attempt to make it up to you with not one, not two, but THREE posts between now and the end of Easter Sunday! So I hope you like Easter stuff.

So, I went to Bulk Barn one fine day (you may begin to notice I do this a lot. It may or may not be my favourite baking supply shop. But I digress) and saw these:


Oh my, Easter-themed M&Ms! I knew I had to bake something awesome with them! But I didn't. At least, I didn't bake anything with the first bagful I bought, since my brother came over that evening, and all the M&Ms mysteriously disappeared. Neither of us have any idea how it happened.

So I bought another bag. This time I swore the M&Ms would make it safely into some baked good, or perhaps they were destined to sit atop lovely spring cupcakes... but alas, it seems they were destined to mysteriously disappear, bit by bit, over the course of the week.

This is likely one of those mysteries that man will simply never know the answer to, much like the mystery of how my socks keep going missing in the dryer.

Oh well.

So I bought a third bagful.


If you look closely, you'll see that some of the M's form little bunny ears, or sheep's faces., it is just too cute! There aren't many faces showing in this picture, but come on, you know I have more pictures!

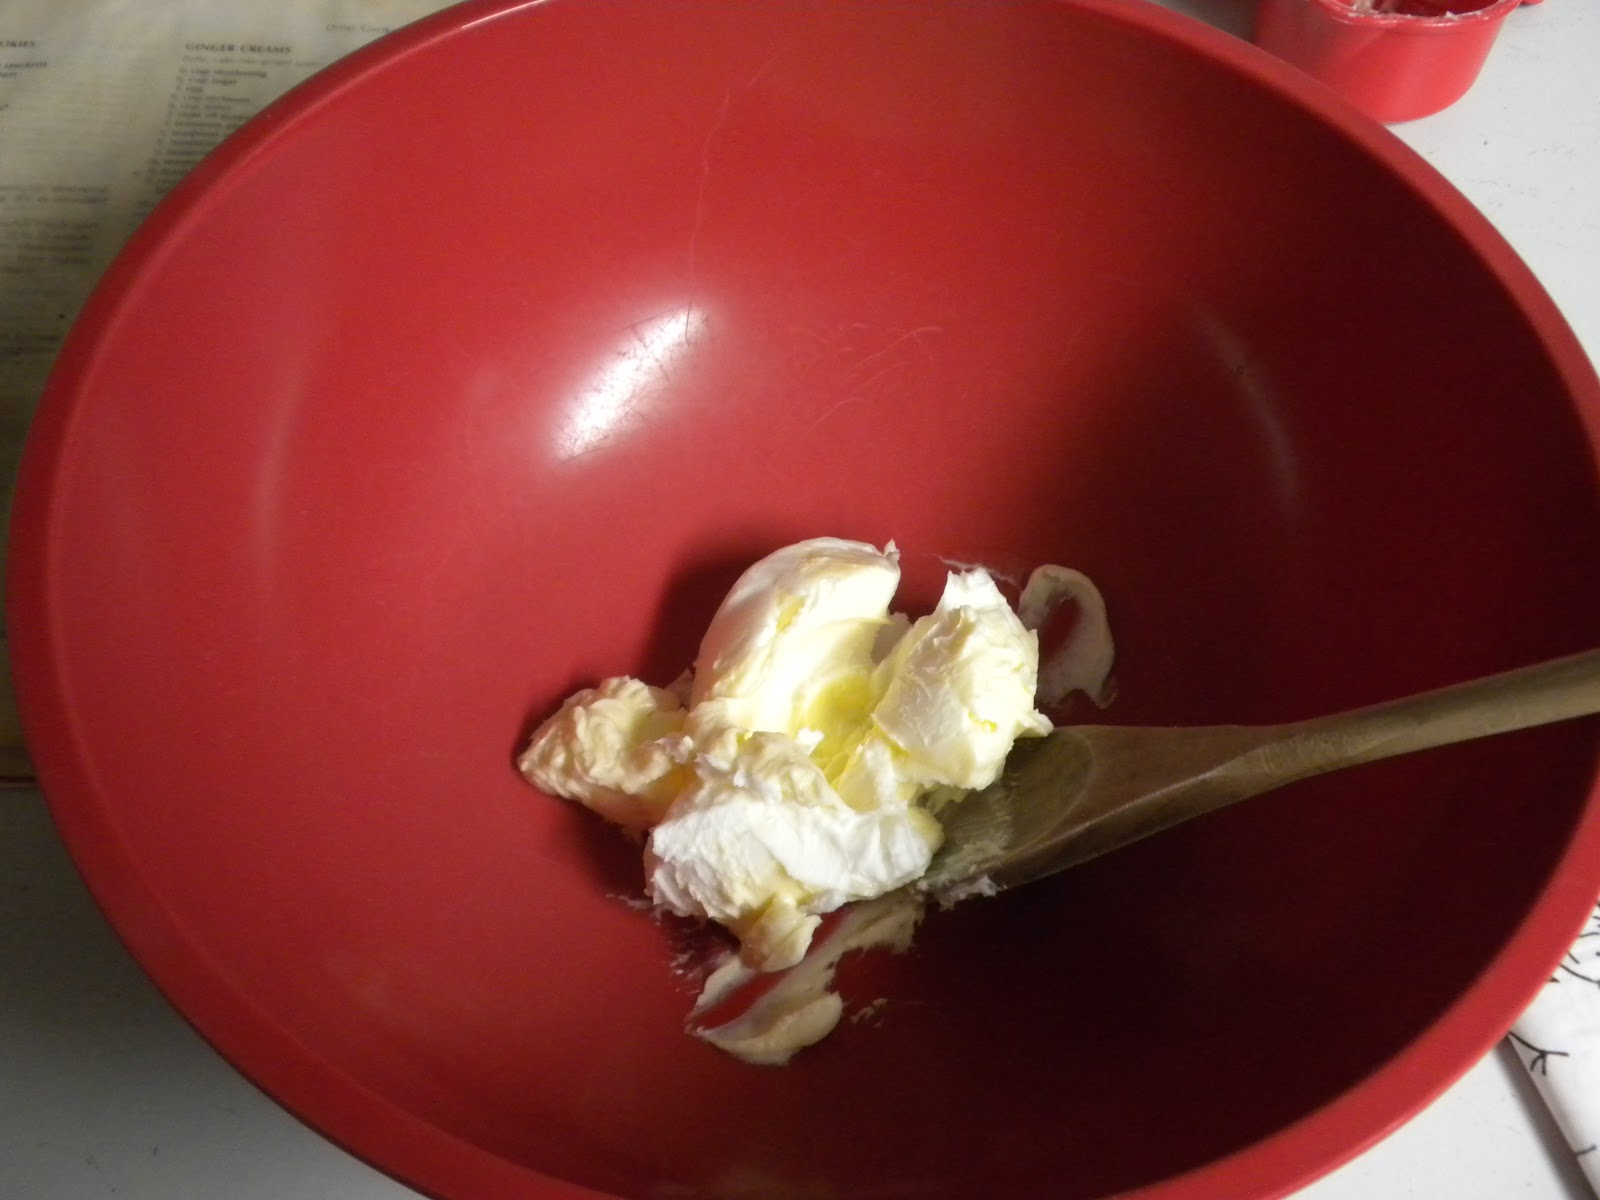
But let's get to the recipe, shall we? This one is pretty easy to whip up, and extremely versatile. Much like many of my favourite recipes, it begins with butter. A half pound of butter. Oh yes.

Salted butter.


"What's that?!" I hear you say (in my mind, or is that just the regular voices? Hm. Anyway,) "Salted butter? In a cookie recipe?! Blasphemy! Atrocity! A travesty!"

It's okay, stay calm. One day, I went to bake cookies and had no unsalted butter, and thought, heck, I'm going to just go nuts and use salted! I altered the recipe slightly to accommodate the change and you know what? I have never looked back. A tiny but of salt brings out the richness of this dough, and really makes the sweet candies' flavor pop!

If you really don't like the salted butter thing though, hey, use unsalted. I won't hold it against you, but your taste buds shall ever wonder what beauty may have been.

Or maybe I'm being dramatic. I do that sometimes.


So, once you've creamed up your room-temperature butter of choice, throw in your 3/4 cups each of white and brown sugar, and mix it all up until smooth.


Then you'll want to add an egg and a teaspoon of vanilla, and mix 'er up again until you've got a nice pile of mush, like so:


Now comes your flour, you want 2 1/4 cups, and you don't have to add it gradually or anything fancy like that either, just chuck it all in, toss 1/4 teaspoon of salt (more salt? I know, right? Ridiculous) and a teaspoon of baking soda, then work 'em all together with your wooden spoon until you have a nice dough.

(By the by, you could probably do all this with a stand mixer. It would likely be easier, and taste just as good, so by all means, bust out the KitchenAid, my friends. I will envy you quietly, from afar, whilst I nurse my sore wrists.)


Did I mention there was going to be chocolate chips in these cookies? There's going to be chocolate chips in these cookies. This is about 1 1/2 cups of semi-sweet chocolate chips. For prettiness' sake, I would suggest white chocolate chips instead, but this was what I had on hand, and honestly I prefer the taste of darker chocolate.

But like I said, this is a very versatile recipe! So use whatever add-ins you like. You could even toss in a cup or so of your favourite nuts.

Now, what are we missing?


Ah. M&Ms from heaven!


Told you there'd be more pictures of the M&Ms. I spy with my little eye... a pink little lamb, a yellow little bunny, and a sweet little yellow chick.

Gosh these are cute.


Scoop your dough out onto your ungreased cookie sheet. If you're smart, unlike me, you will line the sheets with parchment paper. The M&Ms that make contact with the pan tend to want to stay there. So yeah, use parchment. I sure will next time.


They did eventually come free of the pan though, and I put them on a rack to cool. They came out a smidge flatter than usual, likely because I let the butter get a bit too warm. Oh well, we all make mistakes.

They were still awesome. My evidence to that fact is that they disappeared even faster than those first two bags of M&Ms did. No mysteries here, though, I know they were messily, and joyfully devoured.

If you'd like to make your own, here's the recipe:

Chocolate Chip M&M Cookies
Adapted from Betty Crocker Cookbook - New Edition


1 C butter, salted, preferably Neilson brand
3/4 C white sugar, granulated
3/4 C brown or golden sugar, packed
1 large egg
1 tsp vanilla extract
2 1/4 C all-purpose flour
1/4 tsp salt (Use 1/2 tsp if using unsalted butter)
1 tsp baking soda
1 1/2 C chocolate chips of your choice
1 C M&Ms

Cream butter, beat in sugars. Add egg and vanilla and stir to combine. Add flour, salt and baking soda and mix with wooden spoon until a smooth dough forms. Add chocolate chips and candies and mix well into dough.

Drop 1-inch balls of dough onto parchment-lined cookie sheet, bake in 375 degree oven for ~9 minutes.

Try not to devour them all in one sitting.


I'll be back in a day or two with more treats! I hope these cookies blow your mind.

Until next time!

Tuesday, 28 February 2012

Oatmeal Cookies for All!

Until very recently, I had never made oatmeal cookies. I tried out a recipe for them about a year ago at the request of a friend and, well... They sucked. The recipe called for too much liquid and I ended up with a very puddle-y dough, resulting in weird too-thin-some-spots-too-chunky-in-others cookies.

Blecch. 

So, I've been modifying and tweaking the recipe, and here's what I've got so far.


The original recipe called for just shortening, but I like a little buttery richness in my cookies, so I used half unsalted butter & half shortening.


I stuck with the recommended amounts of white and brown sugar, and mooshed them up together well.


And reduced the liquid. Above, I'm adding one egg and about 1/8th of a cup of water. This would be the time to throw the vanilla in, too.


In the eternal words of Rob Rainford, "Moosh moosh moosh." That is, mix it all up. Profound.


Add your dry ingredients - flour, cloves, cinnamon, salt, baking soda - and stir to combine. Now, I feel like we're missing something here...


Oh, yes, oats! Good ol' rolled oats.


Lots of oats.


And raisins! *PTOOEY* Oh, sorry, that's my natural reaction to raisins. (Ptooey.) I uh, I really hate raisins.

I know, right? How can I call myself a baker? Once I told someone I hated raisins, and she asked, "But... don't you like grapes?"

"Yes," I replied, "And they should never be defiled in such a manner."

That is how I speak of the vile fruits in polite company. What I could say about them behind closed doors may make the Cake Boss himself blush. But I digress.

My mom loves raisins. This is her half of the dough. That's how much I love my mom, people. I touched raisins.

(Ptooey.)


Use a teaspoon or your handy-dandy scoop to measure out your cookie dough. No flattening is necessary, they will spread a bit on their own.


Fresh out of the oven, these are chewy with just a touch of crunch from the oats. As they cool, they get a nice crunchy bite to the outside and stay soft and chewy on the inside. Not that I'd know from the batch above, because, well, you know. The-Fruit-Which-Must-Not-Be-Named and all that.

I mentioned, though, that this was only dear Mom's half of the batch. As for the other half of our dough, I had much sweeter plans.


Semi-sweet chocolate chips. Oh, come to mama. 


Measured out and baked just like those other cookies, these come out chewy, crunchy and oh-SO-chocolatey. I wish I hadn't waited so long to start baking oatmeal cookies. I'll share my recipe as it is now, I may still tweak the balance of the fats to get just the right consistency, but otherwise, I'm pretty happy with it!

Crunchy & Chewy Oatmeal Cookies

3/4 C   Shortening, half unsalted butter if desired
1 C      Brown sugar, packed
1/2 C   Granulated sugar
1          Large egg
1/8 C   Water, room temperature
1 tsp     Vanilla
1 C       All-purpose flour
1 tsp     Salt
1/2 tsp  Baking soda
1 tsp     Cinnamon
1/2 tsp  Cloves
2 C       Raisins OR Chocolate chips OR Whatever floats your boat
3 C       Rolled oats

Cream together fats and sugars. Add egg, water and vanilla and stir until smooth. Add dry ingredients and mix until dough forms.

Drop by rounded teaspoonfuls, or from a 1-inch scoop onto cookie pan. TIP: These do stick a bit, so either grease your pan, or line with parchment paper. I was out of parchment paper when I baked these so do as I say, not as I did.

Bake in a 350 degree oven for 10-12 minutes. Allow to cool on pan for 1-2 minutes, then remove to wire rack to cool completely.

Devour Cookie Monster-style.

Enjoy!


You can have these ones.
Until next time!

Wednesday, 22 February 2012

Send-Off Cookies

So an exciting, sad, wonderful, bittersweet thing happened today.

My workplace supervisor and good buddy, Deon, left for a 4-month leave. I only found out it was happening last week, and I scrambled to put together an appropriate set of cookies for the event. 

By the way, if the name sounds familiar, I have mentioned Deon before. He was the one who suggested the jam-filled cookies I made back in this post. So I kind of owed him one.


First thing to know about Deon's leave of absence: he is flying away somewhere. So thing one was to make airplane cookies. As you can see, this cutter is more an old-time, fighter-jet type deal, so I had to alter it a bit to make it look more like a commercial plane.


I quite simply cut away the 'propeller' bit, forming a pointed front on each plane.


Once baked, I used an Ateco brand #2 tip to outline the cookie's parts in black-tinted royal icing. Next time I make royal icing, I'll be sure to whip up a quick tutorial with it. On this occasion, however, I was just using leftover icing I had stored in an airtight container.


I took a portion of white royal icing and thinned it until it was something like a thick syrup, as above. Then I poured it into a freezer bag, and cut a small corner off.


I carefully poured some of this thinned icing into each airplane outline, one to three at a time, and used a toothpick to draw the icing towards the outlines until they were all evenly filled.


I let the icing set for just a few minutes, then used a toothpick dipped in thinned black royal icing to dab on the plane's windshield and windows.

Please forgive the sideways picture. Blogger is refusing to let it upload the right way up.
 Like I mentioned, Deon is a supervisor where I work, and he is the king of fancy high fives. You did a great job? High five! You brought in baked goods? High five! You happen to be walking by? HIGH FIVE!

So uh, I made little hand cookies that said HIGH 5! on them.

So guess where Deon is flying.


Now guess why he's going there.


No, that's not a TV, he's not off to be a reality show star. No, no, not a computer screen. It's supposed to be an undeveloped Polaroid picture. These didn't turn out as well as I'd hoped, but the reason I made them is because Deon is flying away to New York City to take an educational internship in photography, his passion.

I'm so happy for him, but at the same time...


Good luck! Have a safe trip! We'll miss you! Impromptu dance party!

Huh?

Oh, I guess I should explain that. I was having an absolutely awful day at work, when something good happened. It was just a small, shining ray of hope in my day, and I was so relieved to have a good thing happen on such a terrible day, that I stood up and danced a little at my desk when I thought no-one was looking.

Deon was looking. Oops. Excuse me while I die of embarrassment! He thought it was hilarious, and ever since, would regularly approach my desk all business-like, wait for me to look up from my work, and announce "IMPROMPTU MUCH MUSIC DANCE PARTY" which was the signal for all within earshot to dance like dorks.

Yeah, the office is about to be a lot quieter.


I packed all the cookies in a cute little box I got from the dollar store, which I somehow forgot to take a picture of, and brought them to work today.


Deon loved them. He accused me of trying to make him cry. He was kind enough to share with everybody, too. What a guy.

So today was kind of bittersweet. 

Another co-worker brought in an incredible chocolate-raspberry bundt cake for Deon, too, which completely blew my mind. I'll be pestering her for the recipe for sure, and when I get to try it out I'll be sure to share with you guys.

Since I'm talking so much about work, I should probably mention that my work schedule will be extremely busy starting next week, so it may be a little while between posts, but I'll do my best to keep up with things. Thanks so much for reading!

Until next time!

Tuesday, 17 January 2012

A Quickie Cookie Post

Spent over 5 hours baking and packaging cookies today!

My hands are far too cramped* to write up a proper post about it, but I at least want to show a bit of what I've made:

On the right, classic chocolate chip cookies, and on the left their fabulous cousin triple chocolate chip cookies - with white, milk, and semi-sweet chocolate chips! Mmmm.


And here a delicious stack of peanut butter cookies hogs the camera while double peanut butter - that's peanut butter cookies with peanut butter chips added - sneaks up behind for a photo bomb.

I don't think I said peanut butter enough times just now.

Peanut butter.


Shortbread cookies and plain sugar cookies... I was kind of sad that the person who asked for these didn't want any decoration on them! Sugar cookies look so naked with no decorator's sugar or royal icing.


And finally, my very favorite: white chocolate macadamia nut cookies. Oh man, if those nuts weren't so darned expensive I would make these babies all the time. All the time.


Just look at that. It's all I can do not to lick my screen right now. These are just bursting with macadamia nuts and white chocolate. Mmmf!


All told, I baked and packaged 14 dozen cookies today, that's a grand total of 168 cookies in these simple little bags with pretty ribbons. Each variety of cookie has its own colour-coded ribbon too. I'm weird like that.

Now of course, cookie recipes rarely make exactly how many they're supposed to, which brings me to my final point:


Leftovers! Quite possibly the hardest part of making a large order of cookies is not eating them as you go along, especially when they're hot and gooey and aromatic straight out of the oven! Which is why the very best part is the odds and ends left behind when all is said and done.

Once I've delivered the packaged cookies and done some chores tomorrow, I know a couple of friends who will be more than happy to help me 'clean up' these leftovers.

Until next time!

* I mixed nearly everything by hand, with the exception that I used a hand mixer to cream the butter and sugars for the chocolate chip varieties. So yeah, hands = ouch. I'll either have to get used to that or get a stand mixer one of these days!