Showing posts with label chocolate chip. Show all posts

Thursday, 9 August 2012

You Got Your Peanut Butter Cup in my Cookie!

Now, I am well aware that I am not among the first to do this. Far from it, but please realize I made these cookies under extreme duress.

By which I mean a friend linked me to an article about them on Facebook, and baker-shamed me into making them ASAP.And if you don't believe me, look what someone left on my timeline:


If you'd like to visit the original link Leigh shared, it's here. Now, let's look at that comment again, shall we?


Yeah. No pressure at all. 

So, when I saw that a local store had 8 packs of Reese cups on sale, I knew what I had to do.


These cups are ever-so-slightly smaller than the ones you get in a standard 3-pack, I think, and they worked out really well in this recipe.


Start with your favorite chocolate chip cookie recipe, or use the recipe listed here at Picky Palate, where Jenny has tons of cookies-stuffed-in-cookies inspirations! I found that my personal recipe was similar enough that I just stuck with it.

In either case, you probably have to start with room-temperature butter. I personally was busy with a garage sale and laundry that day, and forgot to put the butter out to warm up, so instead I chopped up my butter into little cubes and left it out for a half hour.


Then I used a hand mixer to beat it into submission, and you know what? It was the perfect consistency. Forget leaving butter out for hours to come to temperature! This was much faster and wasn't much extra work.

(If you're very familiar with making chocolate chip cookies, or you've recently read my Easter M&M Cookies post, you can probably skip ahead a bit, cuz I'm going to go through all the steps for making cookie dough here. Again. Because of reasons.)


As long as I had the mixer out, I used it to cream in the brown and white sugars as well, then switched to a wooden spoon to work in the egg and vanilla.


Even though my arms were sore and tired from garage-sale-manning and laundry-hauling all day, I made myself do the rest by hand because over-working the egg (or later, the flour) could result in disastrously tough cookies.

And, honey, I am the only tough cookie around here!

... Oh, man, that was lame. I should stick to baking.


So anyway, once you've worked in the egg and vanilla thoroughly, pile the flour, baking soda and salt on there and fold together until a firm dough forms.


And add your chocolate chips... Mmm.


So now you have chocolate chip cookie dough. You could just stop here, grab a spoon and go to town (if you're not afraid of raw eggs, dun dun dunnnnn) or you could man up and make the craziest cookies ever.


De-package your Reese Cups. 4 of mine mysteriously disappeared somewhere along the way, but I still had enough to make a dozen of these cookies.


Scoop out one regular-sized cookie's worth of dough onto your baking sheet, press a peanut butter cup on top of it, and top with another dough ball, then press down a bit. Leave lots of space for these to spread because they are going to. A lot.


Once your pan has 6 big cookie dough sandwiches on it, start forming the dough with your fingers so that it covers the peanut butter cup and pinch the dough around the sides to be sure it's sealed well. You don't want the Reese cup's chocolate to melt and run out the sides!


This pic does not convey it well enough, but trust me, these are huge. They are nearly the size of my fist.


For comparison, here's the Reese cookie on the left and a regular cookie dough ball on the right. Dang.

In any case, I baked my cookies at 350 degrees for 15  minutes, and they came out perfect!


Once cooked, let the cookies cool at least 5 minutes before moving them to a cooling rack, or they will fall the heck apart.


Another comparison shot of a regular cookie next to these monsters. I am usually the type to eat quite a few fresh baked cookies because they are just too good but I could not get through even 2 of these. They are massive and crazy rich!

Oh man, look how golden-brown and delicious these look. And once cooled, and cut in half...


You can view the peanut butter cup glory within!

These are rich, giant, and completely excessive. I'm sure the calorie count is through the stratosphere and they have next to zero nutritional value. So of course, I highly recommend them! They are insanely delicious.

The really tough thing about these is resisting eating more than one... because maybe I lost my mind a little and finished that second cookie after all. And maybe my tummy paid dearly for it. But my mouth... oh, my mouth danced for joy!

So yes, try these. But proceed with caution, my friends, for this is a deliciousness from which you may never escape. Or maybe you'll be fine, I don't know. They're tasty cookies, is what I'm trying to say.

So! Thank you, Leigh, for the mad inspiration. Now please never give me another baking idea, my tummy can't handle it! (Just kidding, of course.)

Until next time!

Thursday, 17 May 2012

Mother's Day Brunch and the Easiest Coffee Cake Ever

On Mother's Day, my husband, my brother and I all worked together to make a special brunch for my mom. I fried up some delicious peameal bacon, hubby took care of toast duty and assisted with the delicious cheddar & green onion scramble my bro Duck put together.


A lovely little plateful to be sure, but something was definitely missing... something sweet!


Coffee cake ingredients, assemble! I am willing to bet you probably have all of the ingredients for the cake base in your cupboards and fridge right this very moment. Milk, flour, sugar, salt, baking powder, an egg and your choice of butter, margarine or shortening. I was feelin' the Becel this particular day.


Like many of my favourite recipes, the directions here are basically measure & mix! Beat vigorously until smooth. Yes, you could use a hand mixer here, but frankly the whisk was closer.

Perhaps my judgement is not at its clearest before I've had breakfast. Oh well.


Next, you want to put together the topping for the cake, it's simply butter, brown sugar, cinnamon and flour. Mix until nice and crumbly. Add nuts or whatever you like at this point. Our secret ingredient?

You'll see in a couple of pictures. Gosh!


Next, grease and flour your baking pan of choice. Usually I would do this cake up in a simple 9" round pan,, but since it was a special day I thought it would be nice to give everyone their own little coffee cake.

These silicone jumbo muffin cups were the easiest thing I've ever greased & floured because they're so flexible and easy to manoeuvre.  The recipe turned out to be just enough to make 5 jumbo muffin-sized coffee cakes.


So, first, put a bit of batter in the bottom of your baking cup, then sprinkle with about a tenth of the topping.


And the 'secret ingredient' is... CHOCOLATE CHIPS! Allez cuisine!

Uh, I mean... a bit of semi-sweet chocolate chips, somewhat unexpected in a cinnamon-brown sugar topping adds a lovely richness to this cake.


Fill with more batter almost to the top, and sprinkle on some more topping.

Pop 'em in the oven at 350 degrees for about 25-27 minutes, and behold:


Oh... Yes, please!

The topping bakes up sweet and crunchy and chocolatey and melty and wonderful. And the inside?


Fluffy, light, buttery (Becel-y in this case, also good!) and streaked with more brown sugar and chocolate. Now THAT'S a brunch worth getting out of bed for.

At 3 PM.

Hey, we're not morning people.

Want to make your own?

Easiest Coffee Cake Ever
Adapted from Betty Crocker

Cake:
1 1/2 cups flour
3/4 cups sugar
2 1/2 teaspoons baking powder
3/4 teaspoon salt
1/4 cup shortening, butter or your favourite margarine
3/4 cups milk
1 large egg

Topping:
1/3 cup golden brown sugar
1/4 cup flour
1/2 teaspoon cinnamon
3 tablespoons cold butter
1/2 cup chocolate chips (or nuts, or dried fruit, or bits of fresh apple, or whatever!)

Preheat oven to 350 degrees.

For the cake, simply combine all ingredients and beat vigorously by hand for 30 seconds, or use a hand mixer on low, until smooth. Mix topping together separately until crumbly.

Grease and flour pans of choice. For 9" round cake pan, layer batter and topping as desired and bake for 27-30 minutes. For jumbo-muffin size, bake 25-27 minutes, or until golden brown on top. For regular muffin size, 18-21 minutes.

Now that I listed those different variations for the 'secret ingredient' I have all kinds of ideas circulating in my head... When is Father's Day again?

Until next time!
Wednesday, 4 April 2012

Easter M&M Cookies

Before anything else, a quick apology for the lack of updates lately. The day job kind of started taking up all my evenings, too, so I was left with no time to blog. I will attempt to make it up to you with not one, not two, but THREE posts between now and the end of Easter Sunday! So I hope you like Easter stuff.

So, I went to Bulk Barn one fine day (you may begin to notice I do this a lot. It may or may not be my favourite baking supply shop. But I digress) and saw these:


Oh my, Easter-themed M&Ms! I knew I had to bake something awesome with them! But I didn't. At least, I didn't bake anything with the first bagful I bought, since my brother came over that evening, and all the M&Ms mysteriously disappeared. Neither of us have any idea how it happened.

So I bought another bag. This time I swore the M&Ms would make it safely into some baked good, or perhaps they were destined to sit atop lovely spring cupcakes... but alas, it seems they were destined to mysteriously disappear, bit by bit, over the course of the week.

This is likely one of those mysteries that man will simply never know the answer to, much like the mystery of how my socks keep going missing in the dryer.

Oh well.

So I bought a third bagful.


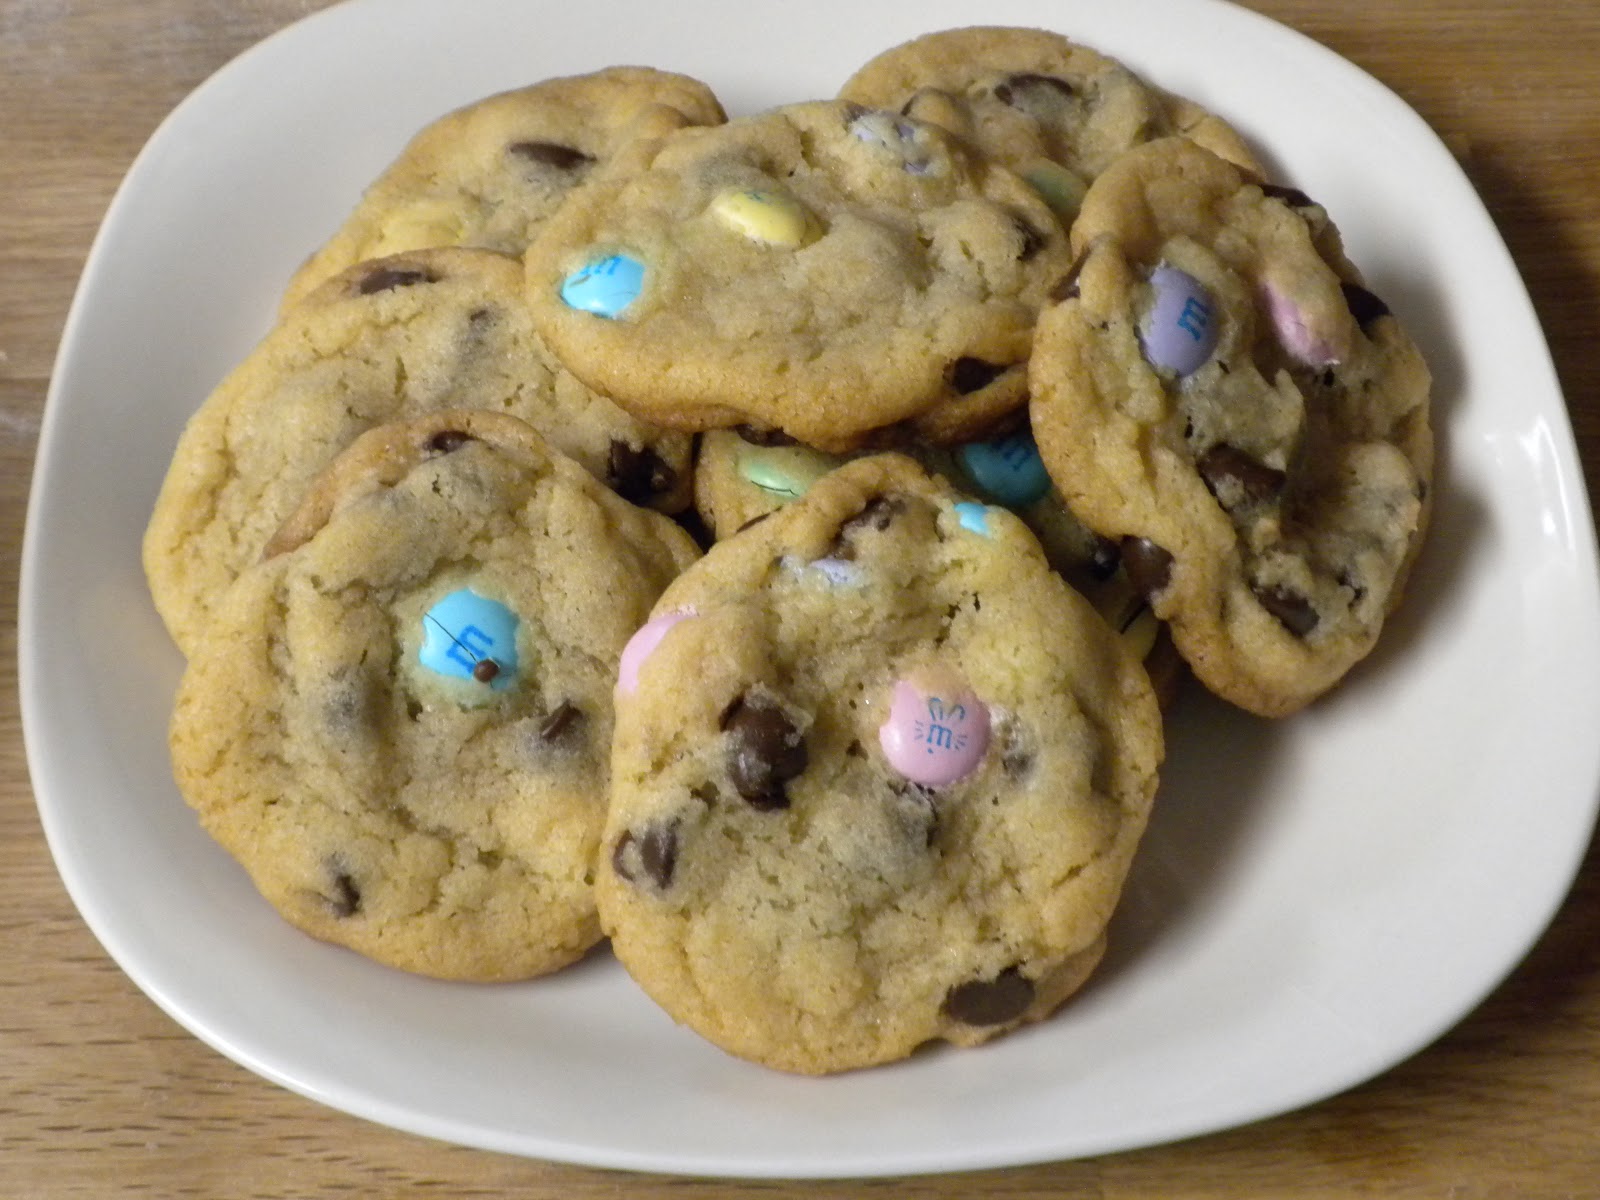
If you look closely, you'll see that some of the M's form little bunny ears, or sheep's faces., it is just too cute! There aren't many faces showing in this picture, but come on, you know I have more pictures!

But let's get to the recipe, shall we? This one is pretty easy to whip up, and extremely versatile. Much like many of my favourite recipes, it begins with butter. A half pound of butter. Oh yes.

Salted butter.


"What's that?!" I hear you say (in my mind, or is that just the regular voices? Hm. Anyway,) "Salted butter? In a cookie recipe?! Blasphemy! Atrocity! A travesty!"

It's okay, stay calm. One day, I went to bake cookies and had no unsalted butter, and thought, heck, I'm going to just go nuts and use salted! I altered the recipe slightly to accommodate the change and you know what? I have never looked back. A tiny but of salt brings out the richness of this dough, and really makes the sweet candies' flavor pop!

If you really don't like the salted butter thing though, hey, use unsalted. I won't hold it against you, but your taste buds shall ever wonder what beauty may have been.

Or maybe I'm being dramatic. I do that sometimes.


So, once you've creamed up your room-temperature butter of choice, throw in your 3/4 cups each of white and brown sugar, and mix it all up until smooth.


Then you'll want to add an egg and a teaspoon of vanilla, and mix 'er up again until you've got a nice pile of mush, like so:


Now comes your flour, you want 2 1/4 cups, and you don't have to add it gradually or anything fancy like that either, just chuck it all in, toss 1/4 teaspoon of salt (more salt? I know, right? Ridiculous) and a teaspoon of baking soda, then work 'em all together with your wooden spoon until you have a nice dough.

(By the by, you could probably do all this with a stand mixer. It would likely be easier, and taste just as good, so by all means, bust out the KitchenAid, my friends. I will envy you quietly, from afar, whilst I nurse my sore wrists.)


Did I mention there was going to be chocolate chips in these cookies? There's going to be chocolate chips in these cookies. This is about 1 1/2 cups of semi-sweet chocolate chips. For prettiness' sake, I would suggest white chocolate chips instead, but this was what I had on hand, and honestly I prefer the taste of darker chocolate.

But like I said, this is a very versatile recipe! So use whatever add-ins you like. You could even toss in a cup or so of your favourite nuts.

Now, what are we missing?


Ah. M&Ms from heaven!


Told you there'd be more pictures of the M&Ms. I spy with my little eye... a pink little lamb, a yellow little bunny, and a sweet little yellow chick.

Gosh these are cute.


Scoop your dough out onto your ungreased cookie sheet. If you're smart, unlike me, you will line the sheets with parchment paper. The M&Ms that make contact with the pan tend to want to stay there. So yeah, use parchment. I sure will next time.


They did eventually come free of the pan though, and I put them on a rack to cool. They came out a smidge flatter than usual, likely because I let the butter get a bit too warm. Oh well, we all make mistakes.

They were still awesome. My evidence to that fact is that they disappeared even faster than those first two bags of M&Ms did. No mysteries here, though, I know they were messily, and joyfully devoured.

If you'd like to make your own, here's the recipe:

Chocolate Chip M&M Cookies
Adapted from Betty Crocker Cookbook - New Edition


1 C butter, salted, preferably Neilson brand
3/4 C white sugar, granulated
3/4 C brown or golden sugar, packed
1 large egg
1 tsp vanilla extract
2 1/4 C all-purpose flour
1/4 tsp salt (Use 1/2 tsp if using unsalted butter)
1 tsp baking soda
1 1/2 C chocolate chips of your choice
1 C M&Ms

Cream butter, beat in sugars. Add egg and vanilla and stir to combine. Add flour, salt and baking soda and mix with wooden spoon until a smooth dough forms. Add chocolate chips and candies and mix well into dough.

Drop 1-inch balls of dough onto parchment-lined cookie sheet, bake in 375 degree oven for ~9 minutes.

Try not to devour them all in one sitting.


I'll be back in a day or two with more treats! I hope these cookies blow your mind.

Until next time!

Tuesday, 17 January 2012

A Quickie Cookie Post

Spent over 5 hours baking and packaging cookies today!

My hands are far too cramped* to write up a proper post about it, but I at least want to show a bit of what I've made:

On the right, classic chocolate chip cookies, and on the left their fabulous cousin triple chocolate chip cookies - with white, milk, and semi-sweet chocolate chips! Mmmm.


And here a delicious stack of peanut butter cookies hogs the camera while double peanut butter - that's peanut butter cookies with peanut butter chips added - sneaks up behind for a photo bomb.

I don't think I said peanut butter enough times just now.

Peanut butter.


Shortbread cookies and plain sugar cookies... I was kind of sad that the person who asked for these didn't want any decoration on them! Sugar cookies look so naked with no decorator's sugar or royal icing.


And finally, my very favorite: white chocolate macadamia nut cookies. Oh man, if those nuts weren't so darned expensive I would make these babies all the time. All the time.


Just look at that. It's all I can do not to lick my screen right now. These are just bursting with macadamia nuts and white chocolate. Mmmf!


All told, I baked and packaged 14 dozen cookies today, that's a grand total of 168 cookies in these simple little bags with pretty ribbons. Each variety of cookie has its own colour-coded ribbon too. I'm weird like that.

Now of course, cookie recipes rarely make exactly how many they're supposed to, which brings me to my final point:


Leftovers! Quite possibly the hardest part of making a large order of cookies is not eating them as you go along, especially when they're hot and gooey and aromatic straight out of the oven! Which is why the very best part is the odds and ends left behind when all is said and done.

Once I've delivered the packaged cookies and done some chores tomorrow, I know a couple of friends who will be more than happy to help me 'clean up' these leftovers.

Until next time!

* I mixed nearly everything by hand, with the exception that I used a hand mixer to cream the butter and sugars for the chocolate chip varieties. So yeah, hands = ouch. I'll either have to get used to that or get a stand mixer one of these days!